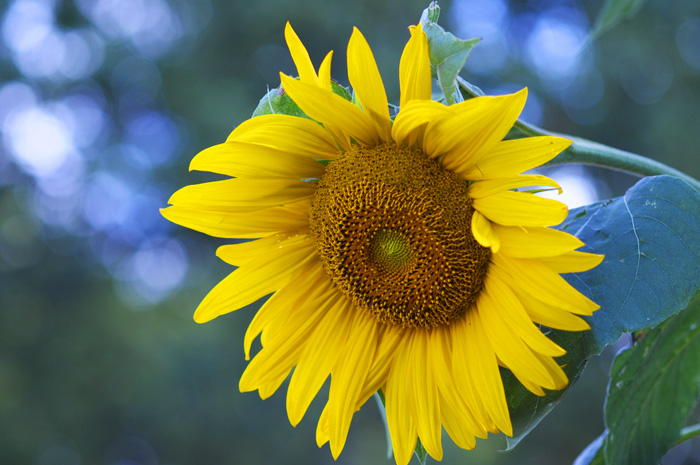
2-5 : A Quick Look at Filters & Plug-insIntroduction Filters can also be referred to as "Plug-ins". There are a ton of popular 3rd party plug-ins out there and a lot of them are very user friendly and very powerful, I collect them like some people collect fonts (which I collect too). However, the newer versions of PS have some really great ones built in. So lets do something fun, lets take a photo of a sunflower from my garden.
"Right Click" on the flower image and copy it. In Photoshop "CTRL+N" will open a new file. The image size is automatically set to the image on your clipboard. Click "OK" and "Paste" (CTRL+V) the image onto the page. Now navigate to Filter > Filter Gallery and a new window will open with a list of filter options and controls. There are 6 folders with a variety of filter options in each. Start by clicking on any of them to see what they do.
You can get to any of the filters from the Filter drop down menu as well as through the Filter Gallery. This is probably one of the first things a new Photoshop user will explore as they are quite self explanatory. The main thing to remember is to try them, learn what they can do and refer back to them when you need a unique effect. Keep in mind that a "filter for filter's sake" doesn't always make a good design. Try making a duplicate layer and adding a filter to the top layer. Then use the Opacity slider to affect the top layer - this is a great way to make subtle changes to an image.
Many filters that you install will consist of just one file that has a .8BF or .8BI extension. They will almost always be located in the Photoshop Plug-ins folder: C:\Program Files\Adobe\Adobe Photoshop CS5\Plug-ins\Filters. So if you download a new filter, just place it the folder and Photoshop takes care of the rest. The next time you start Photoshop, the new filters will be ready to go! Conclusion Reference |
|||||||||||||||
<< Previous Tutorial |
Return to List |
Next Tutorial >> |
|||||||||||||


Owned and operated by The Art Department, Chester, NE |
Last Update: |